 As reliable as your Tesla Wall Connector may seem, it’s not far-fetched for problems to come up. Sometimes these issues are easy to troubleshoot on your own. Other times, professional help may be needed. Here are some tips and troubleshooting solutions for your Tesla Wall Connector.
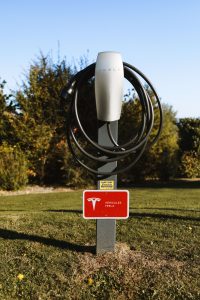
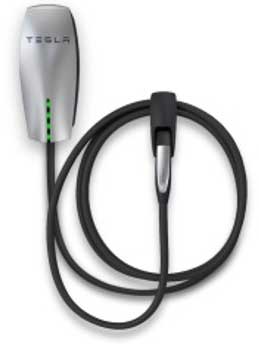
No lights on your Tesla Wall Connector
When you turn your Wall Connector on, the indication of power is the lights. If that doesn’t happen it means you have a power supply problem with no power coming from the breaker panel. This applies especially when your Wall Connector has been working fine before.
To solve this problem, check that the power supply is on. This needs a minimal knowledge of your breaker panel and how it works. It usually involves flipping a breaker back into the on position. If nothing changes, it’s likely time to call an electrician.
The electrician will remove the Wall Connector and check that there is voltage present and fix any issues with the breaker panel that may be the root cause.
The Wall Connector shows a solid red
If you have been using your Tesla Wall Connector for a while, seeing a solid red will stand out to you because the Wall Connector usually comes on with a green light. A solid red can mean a few things and none of them are good news. It could mean the Wall Connector is bad or has an internal fault. Either way, a repair or replacement becomes necessary.
What you can do to solve the situation is to first try turning off the circuit breaker. Wait for a few seconds after before turning it back on. If the solid red light persists, then it’s time to contact Tesla.
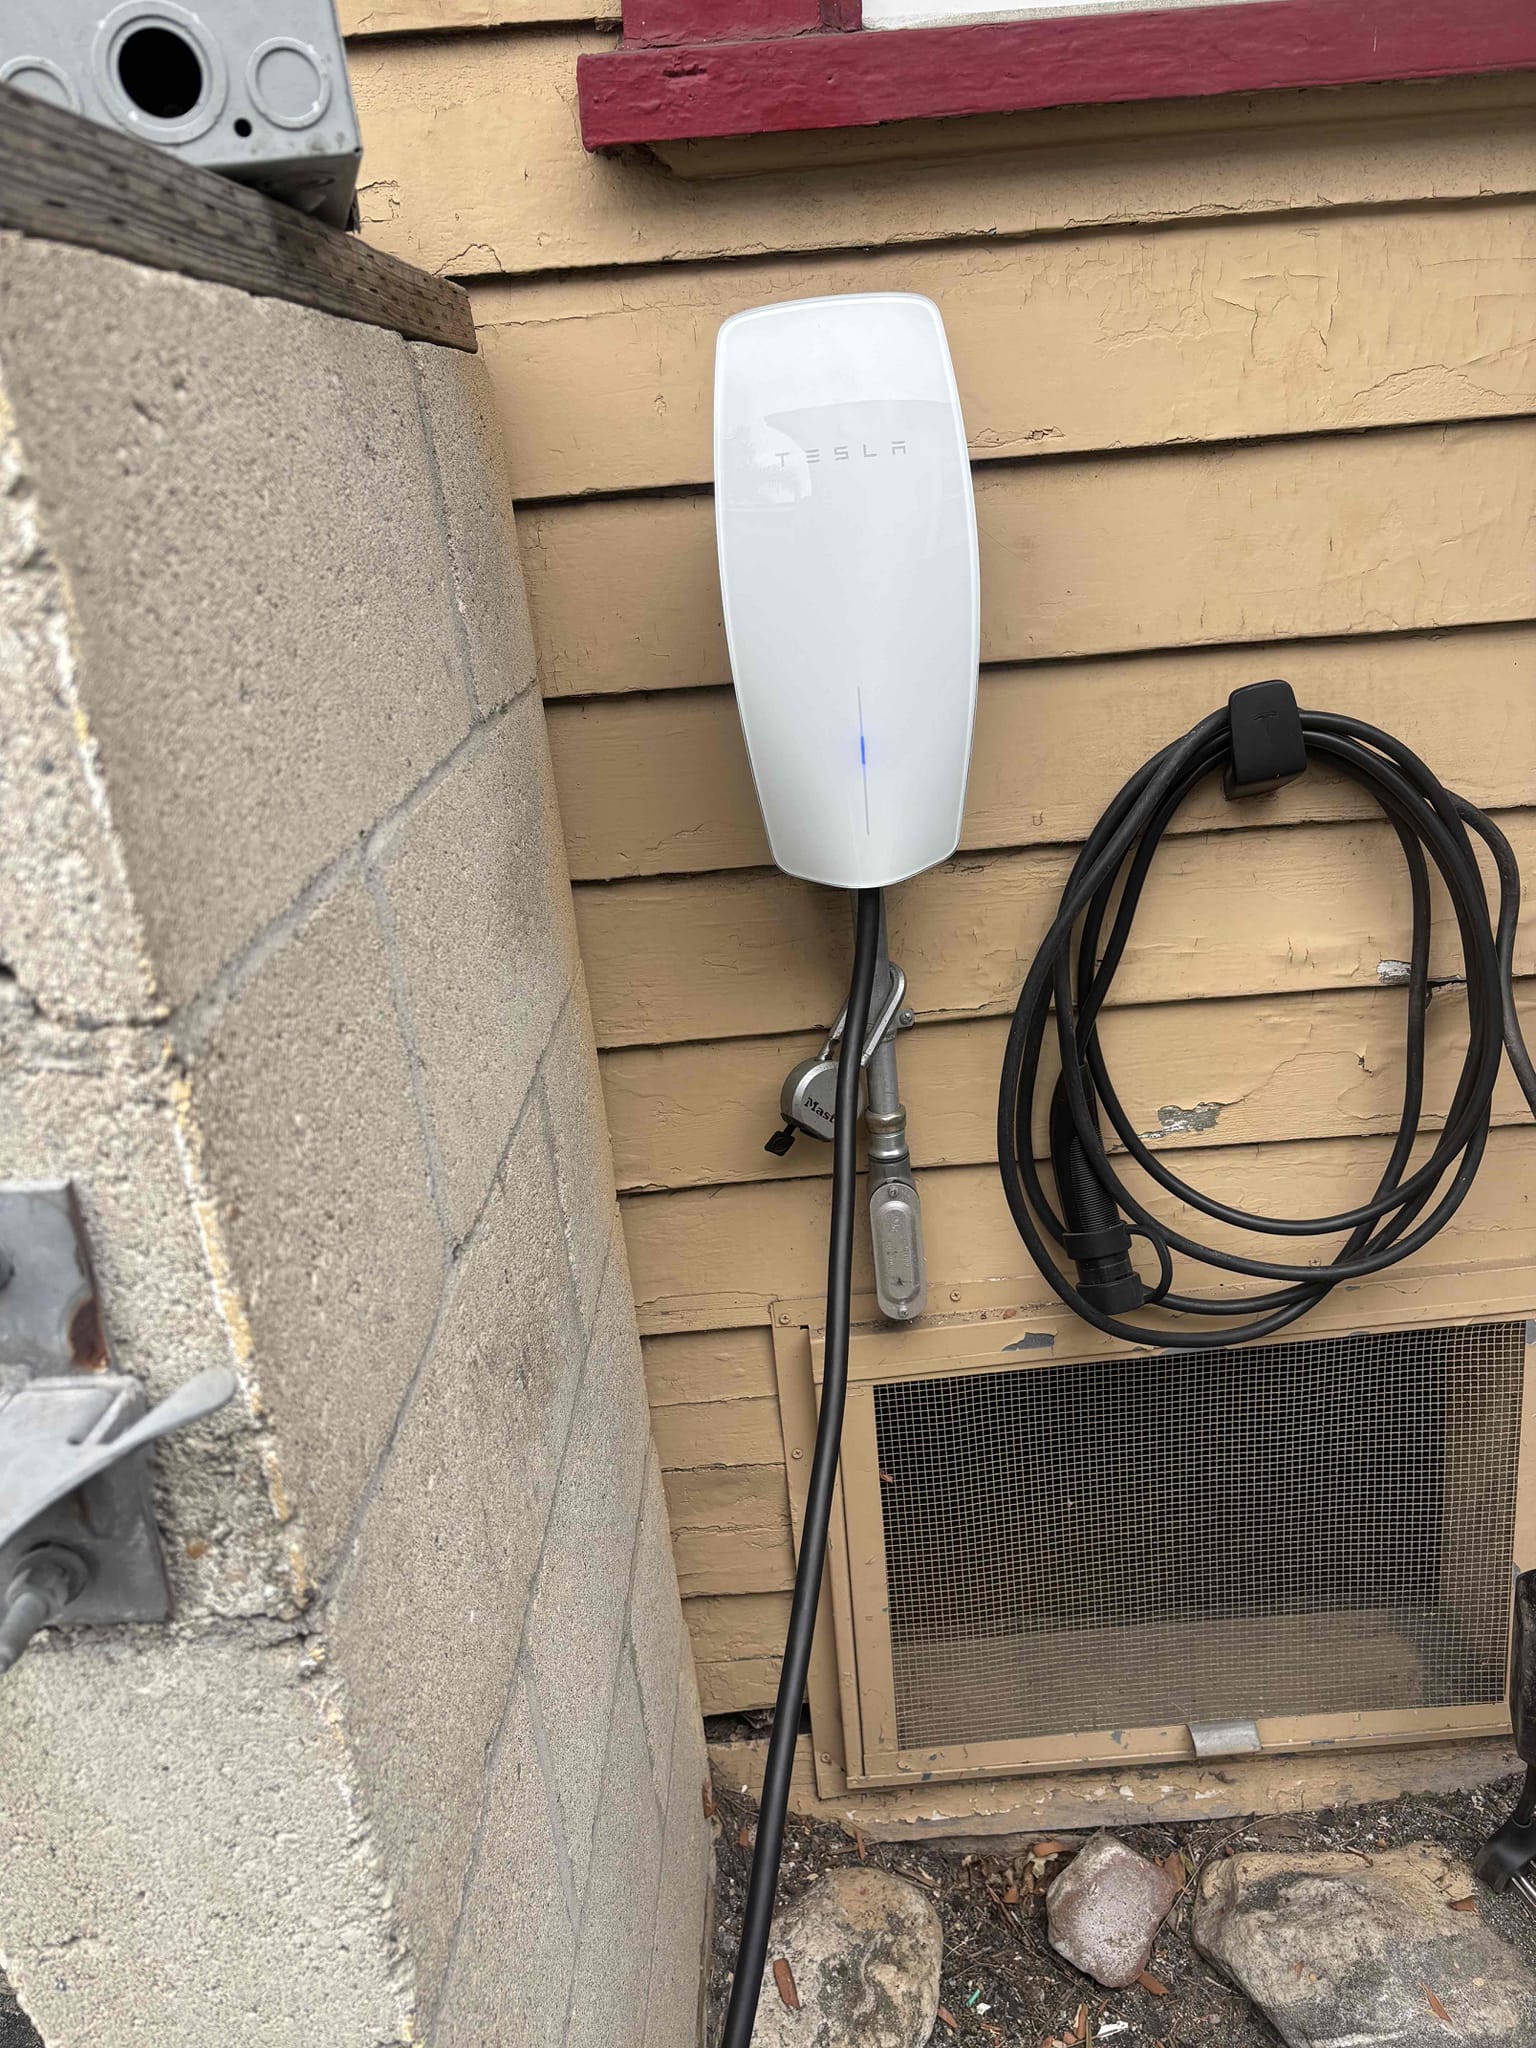
One red blink to seven red blink
A red blink code pauses for one second and then repeats itself. The good news is from one red blink to seven red blinks, your Wall Connector can give some indication of what problems need to be fixed.
One blink means there’s a GFCI interruption because of an unsafe current path. There might be damage somewhere.
Check the Wall Connector itself, the handle, cable, and vehicle charge port for signs of contact with water or damage. Call an electrician right after to fix the issue.
Two red blinks mean a ground assurance fault has been detected. Call a certified Tesla electrician to handle this. The electrical technician will have to see if the Wall Connector is properly grounded and check all physical connections alongside.
Three red blinks present a different problem, which is a rise in temperature. This can quickly become a fire hazard and should be attended to by an electrician as soon as possible. You can confirm the issue by checking if the faceplate and cable handle are warm to the touch.
In contrast to what you might be thinking, it doesn’t get worse with four red blinks. Four red blinks simply indicate lost internet connection, and you can check the Wi-Fi settings, router, and signal strength to handle this.
Five red blinks mean an issue with power-sharing communication and can be sorted the same as four red blinks.
Six and seven red blinks generally mean an overvoltage or poor grid quality and need either an electrician or Tesla’s assistance.
Contacting Tesla
We recommend that our customers get in touch with Tesla technical support before contacting us or another electrician. We’ve had several customers recently have to have their Wall Connectors replaced by Tesla due to some kind of manufacturing defect. They can help you troubleshoot and do a diagnostic test. Please call 650-681-6133.
Note: For Wall Connector installations where you have breakers tripping, it may likely be an issue with the setting in your Wall Connector which you need to commission.
For WiFi commissioning support:
You may contact Tesla at 877-961-7652 between the hours of 8am to 5pm Pacific time Monday through Friday. Please be sure that you are home with the Wall Connector, you have the TPN (the part number), the TSN (the serial number), and you have connected the Wall Connector to the internet prior to calling. One of the troubleshooting steps is to get the Wall Connector, if it is a gen 3, to the internet. Please select the link below which will direct you to our website which includes the directions on connecting the Wall Connector to the internet. If the Wall Connector was installed the Online Orders department will not be able to assist with an exchange, however we will be able to complete the troubleshooting steps and if the troubleshooting doesn’t work then it may qualify your system for replacement.


 As electrical contractors here in Los Angeles, I’ve seen firsthand how quickly our city is pivoting toward electric vehicles. While many residents start out using standard wall outlets or NEMA receptacle, they often realize pretty quickly that a faster, more permanent charging solution is a game-changer for daily life. We recently completed a project that perfectly illustrates this shift.
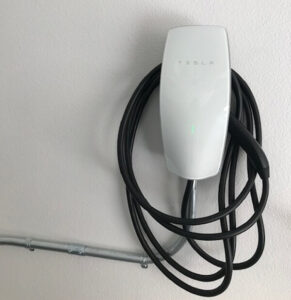 So you finally have your Tesla charger installed and after some time you notice a flashing red light.
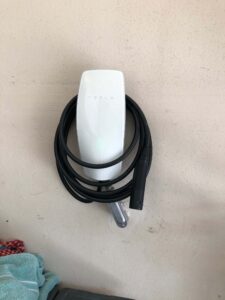 If there’s anything we know about Tesla, it’s that they keep doing better and better. This leads to more people wanting to join the movement for sustainability by owning one of their sleek vehicles.
 Having an electric car is great and very much a trendy decision. When you have the EV of your choice parked in your garage, the most important question that follows is what size breaker does a Tesla need. Your electric car may save on fuel but it needs electric power to work, and this starts with a suitable breaker size.
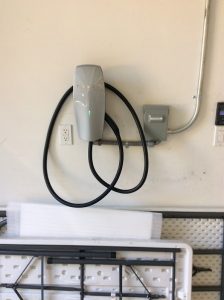 Electric cars are clearly the latest and most sought after development in the automotive industry and Tesla is leading the pack. So, when you have just purchased your very own green car, you can leap for joy about avoiding fueling costs and several other issues that come with it.
 Electricity is almost as important as oxygen nowadays. It powers everything around us in one way or the other. Just like electricity is useful, it can also be dangerous. But we will not discuss the dangers here.
  When you are obsessed with pretty cars and tired of driving fuel powered vehicles, then an electric vehicle like
  The purchasing of an electric vehicle comes with one big, important question: